Account Setup
As an Executive Assistant using Vimcal, you'll need to set up your own account and add your executives' calendars. This guide walks you through the initial setup process.
Creating your account
Start by downloading the Vimcal app and signing in with your Google or Microsoft account. Vimcal will automatically import your calendar events and settings.
Once signed in, you'll be prompted to complete a brief onboarding flow where you can set your working hours, time zone, and notification preferences.
Adding executive calendars
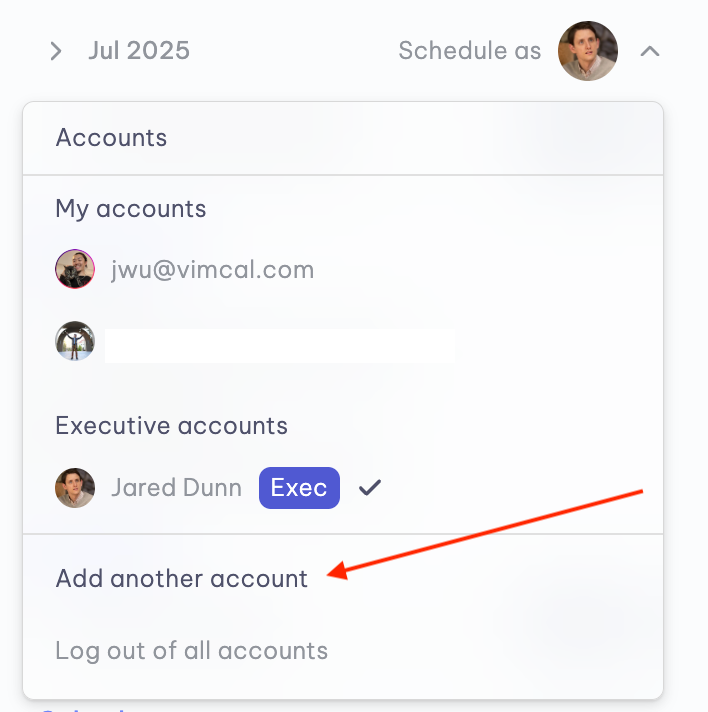
To manage your executive's calendar, you'll need to be granted delegate access through Google Calendar or Microsoft Outlook. Once you have delegate access, open Vimcal and navigate to Settings → Calendars, then click Add calendar and select your executive's account.
Their calendar will appear alongside your own in the sidebar, clearly labeled so you always know which calendar you're viewing.
Adding multiple executives
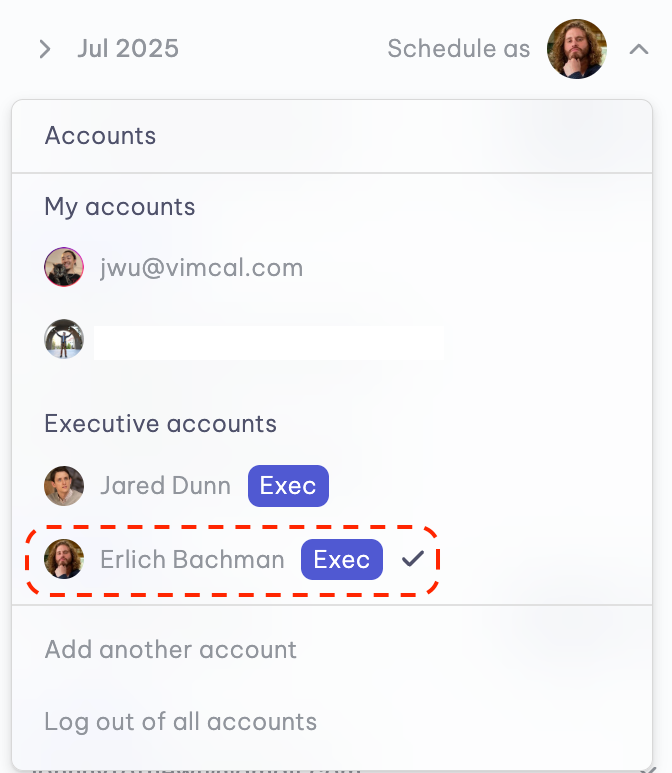
Vimcal is built to support EAs managing multiple executives. Repeat the process above for each executive whose calendar you need to manage. You can add as many executive calendars as needed — they each appear as distinct accounts in the sidebar.
Use the account switcher at the top of the sidebar to jump between executives instantly.
Switching between calendars
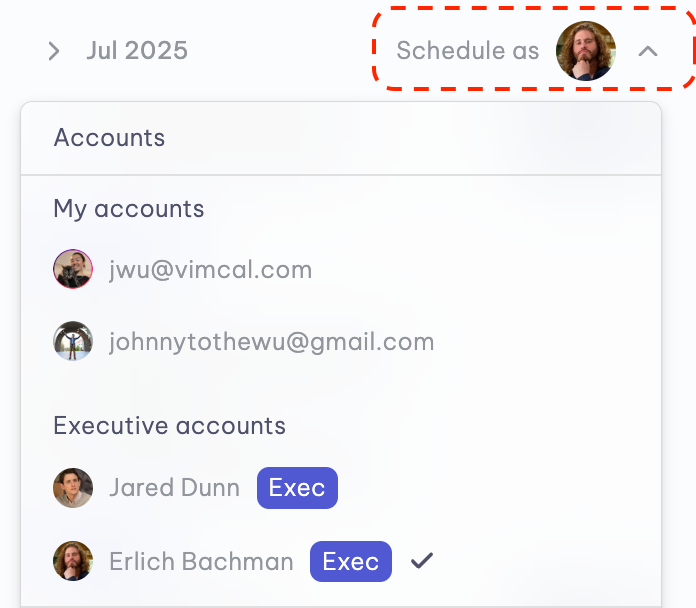
When working in Vimcal, you can switch your active calendar view at any time using the account switcher. This changes which calendar events are displayed and which calendar new events are created on.
You can also view multiple calendars simultaneously by enabling overlapping calendar view in Settings → Display.
Next steps
Once your account is set up:
- Explore Slots to start sharing availability with others
- Set up Time Travel to instantly see any time zone
- Review the Top Features for EAs guide for a curated overview of the most useful tools