Smart Buffers
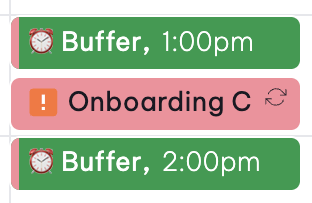
Automatically add buffers before and/or after any meeting. If a meeting gets rescheduled, your buffers automatically shift to the new time. No manual dragging needed.
How to Add a Buffer
New events
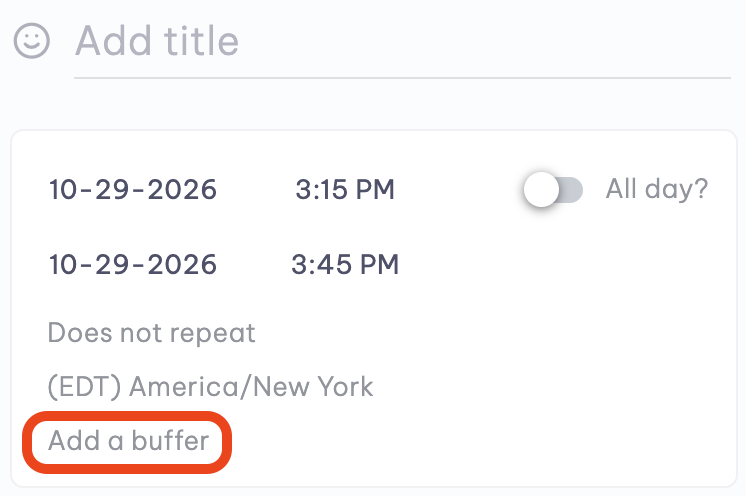
- Create a new event
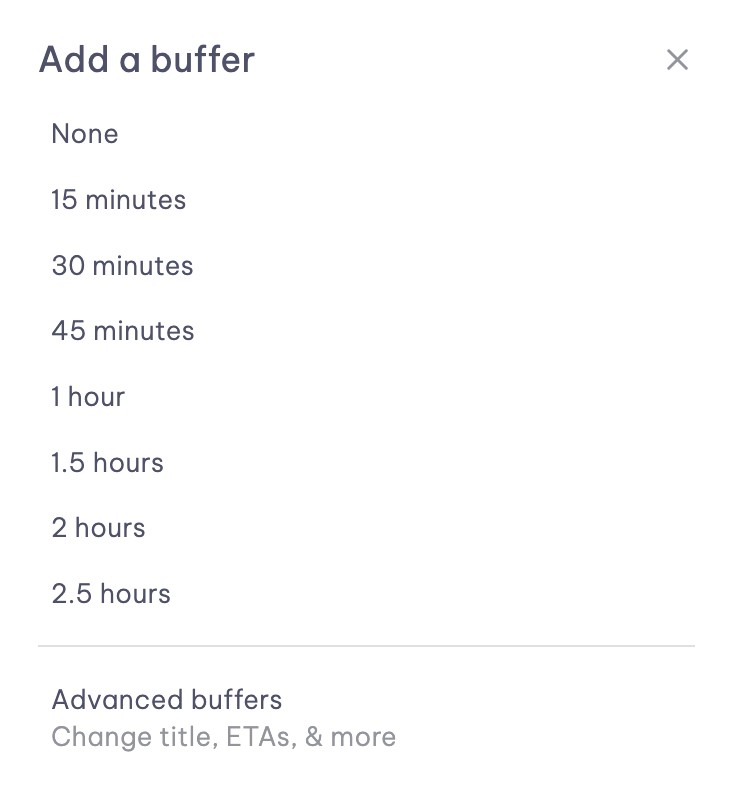
- Click Add a buffer and choose from the selection listed.
- Set the duration.
Existing events
- Left-click an event
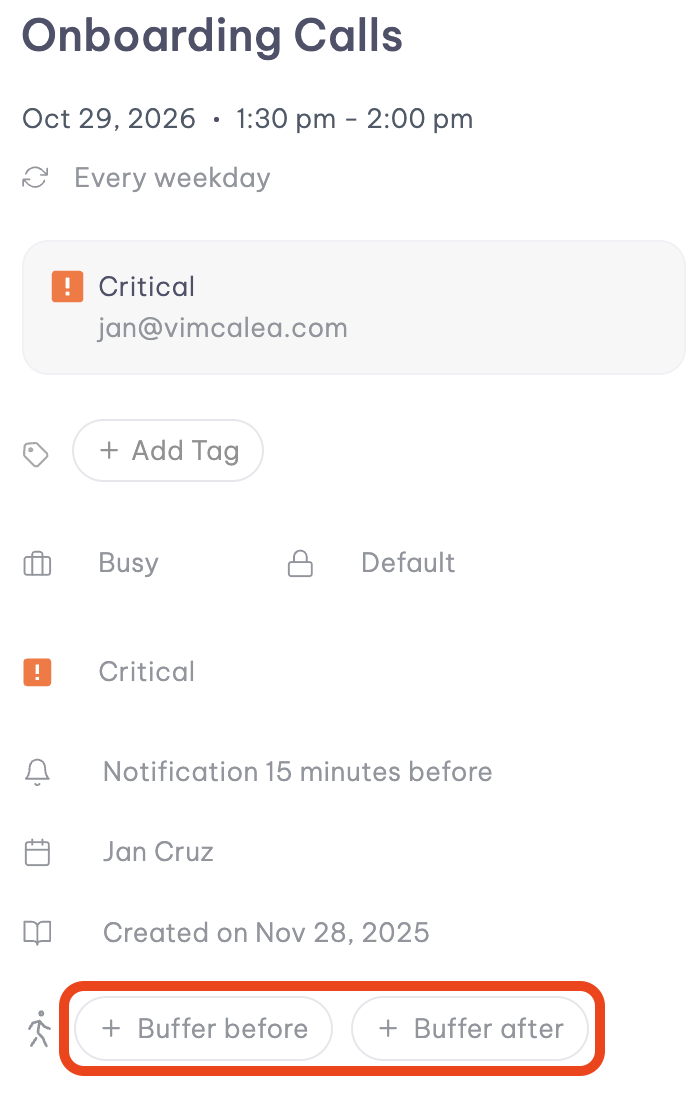
- Select + Buffer before or + Buffer after
- Then set your preferred duration.
The buffer defaults to the color associated with the main event. However, you can assign a different color in the “Advanced buffers” setting or edit the buffer after it’s been created.
Travel Buffers
For in-person meetings, we can automatically calculate your travel time depending on the following:
- Travel Mode: Walk, drive, bike, public transport, etc.
- Live traffic data
- Include a direct Google Maps link inside the buffer event
All of these are made possible by our built-in Google Maps integration.
To add travel buffers, simply follow the steps outlined above. Rather than selecting from the default buffers listed, head over to “Advanced buffers” and enter the details:
- Set the color
- Add a title
- Enter the starting and final location. (Note: If your meeting has an address, it will already be pre-filled on your behalf.)
- Click on “Get ETA”
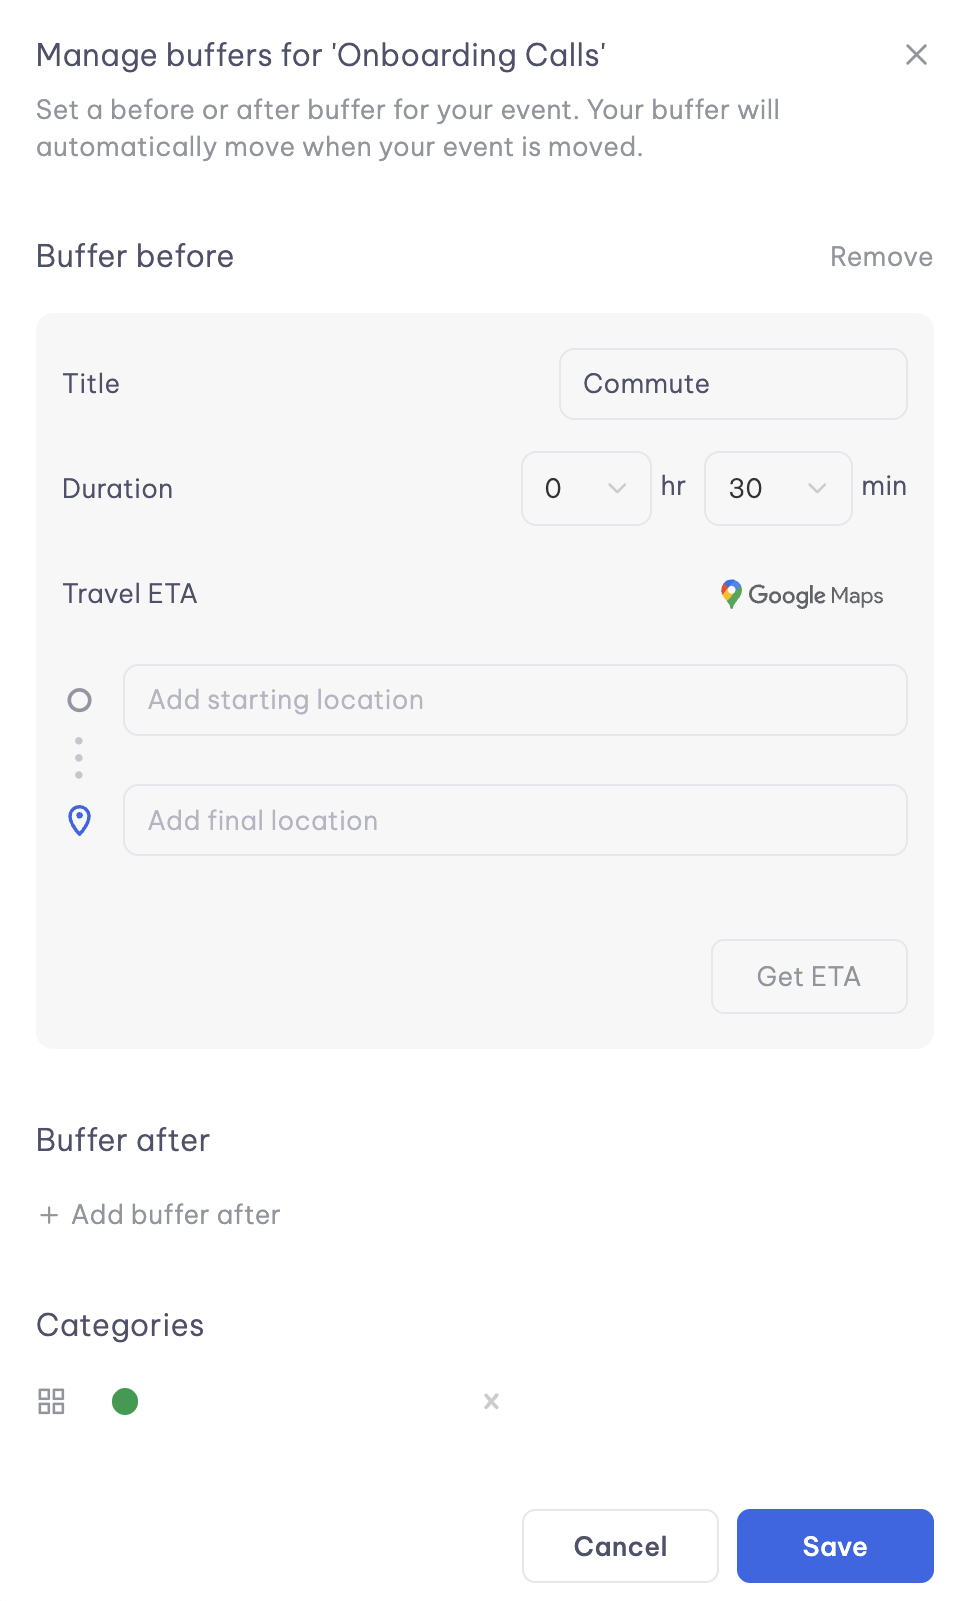
Once everything is set, just click “Save” to apply the buffer.
That’s it! The buffer appears as a separate, color-coded block on your calendar.